How to make
a callback request pop-up widget
Magic-WIDGET.COM
A callback request pop-up widget is a graphical user interface (GUI) component that allows website visitors to request a callback from a company or organization. The widget typically appears as a window or dialogue box that overlays the content of a website, and allows users to input their name, phone number, and other relevant information.
When a user submits a callback request using the pop-up widget, the request is sent to the appropriate department or representative within the company or organization, who then contacts the user by phone at the specified time. This type of widget is often used by businesses and organizations that offer customer support or sales services, as it allows them to quickly respond to user inquiries and provide personalized assistance.
The pop-up is typically designed to be unobtrusive and easy to use, with clear instructions and prompts for users to follow. The widget may be triggered automatically based on user behavior, such as spending a certain amount of time on a particular page or attempting to leave the site, or it may be accessed through a designated button or link on the website.
The main purpose of a callback request pop-up is to provide users with an easy and convenient way to get help, information, or assistance without having to make a phone call themselves.
Here are some specific purposes for using a callback request pop-up notification on a website:
- Provide personalized assistance: A callback request pop-up allows users to receive personalized assistance from a representative of the website or business. This can help users feel more valued and increase their satisfaction with the service they receive.
- Improve customer service: By providing a callback request pop-up, websites can improve their customer service by making it easier for users to get the help they need. This can help increase user loyalty and retention.
- Increase conversions: A callback request pop-up can also be used to increase conversions by providing users with an easy way to get more information or assistance. This can help overcome any barriers to conversion and encourage users to take action.
- Build trust: By offering a callback request pop-up, websites can build trust with users by showing that they are committed to providing personalized assistance and excellent customer service.
- Gather leads: Callback request pop-ups can also be used to gather leads and contact information from users who may be interested in the website’s products or services. This information can then be used for follow-up marketing or sales efforts.
Callback request pop-up is useful for websites to provide users with personalized assistance, improve customer service, increase conversions, build trust, and gather leads. By offering a convenient and easy way for users to request a phone call, websites can enhance the user experience and drive business results.
- Keep it simple: Make the callback request pop-up simple and easy to use. Only ask for the essential information needed to make the callback, such as the user’s name, phone number, and a brief message.
- Use clear and concise language: Use clear and concise language to explain the purpose of the callback request and provide clear instructions for filling out the form.
- Provide context: Provide context for the callback request by explaining why the user may need a callback, such as to discuss a product or service, or to get help with an issue.
- Highlight the benefits: Highlight the benefits of requesting a callback, such as personalized assistance, faster service, or resolution to an issue.
- Use design elements to draw attention: Use design elements such as contrasting colors, bold text, or icons to draw attention to the callback request pop-up and encourage users to fill out the form.
- Make it mobile-friendly: Ensure that the callback request pop-up is mobile-friendly and easy to use on a smaller screen.
- Customize the form fields: Customize the form fields to ask for information that is relevant to your business and aligns with your goals for the callback request.
- Set expectations for timing: Let the user know when they can expect to receive the callback and provide an estimated time frame.
- Follow up promptly: Once a callback request has been submitted, follow up promptly to provide the requested information or assistance.
By following these best practices, you can create a callback request pop-up widget that is user-friendly, engaging, and effective in helping users receive the assistance they need.
Create an Account or Sign In and Connect the Website
Find more information on connecting the website to the Magic Widget system here.
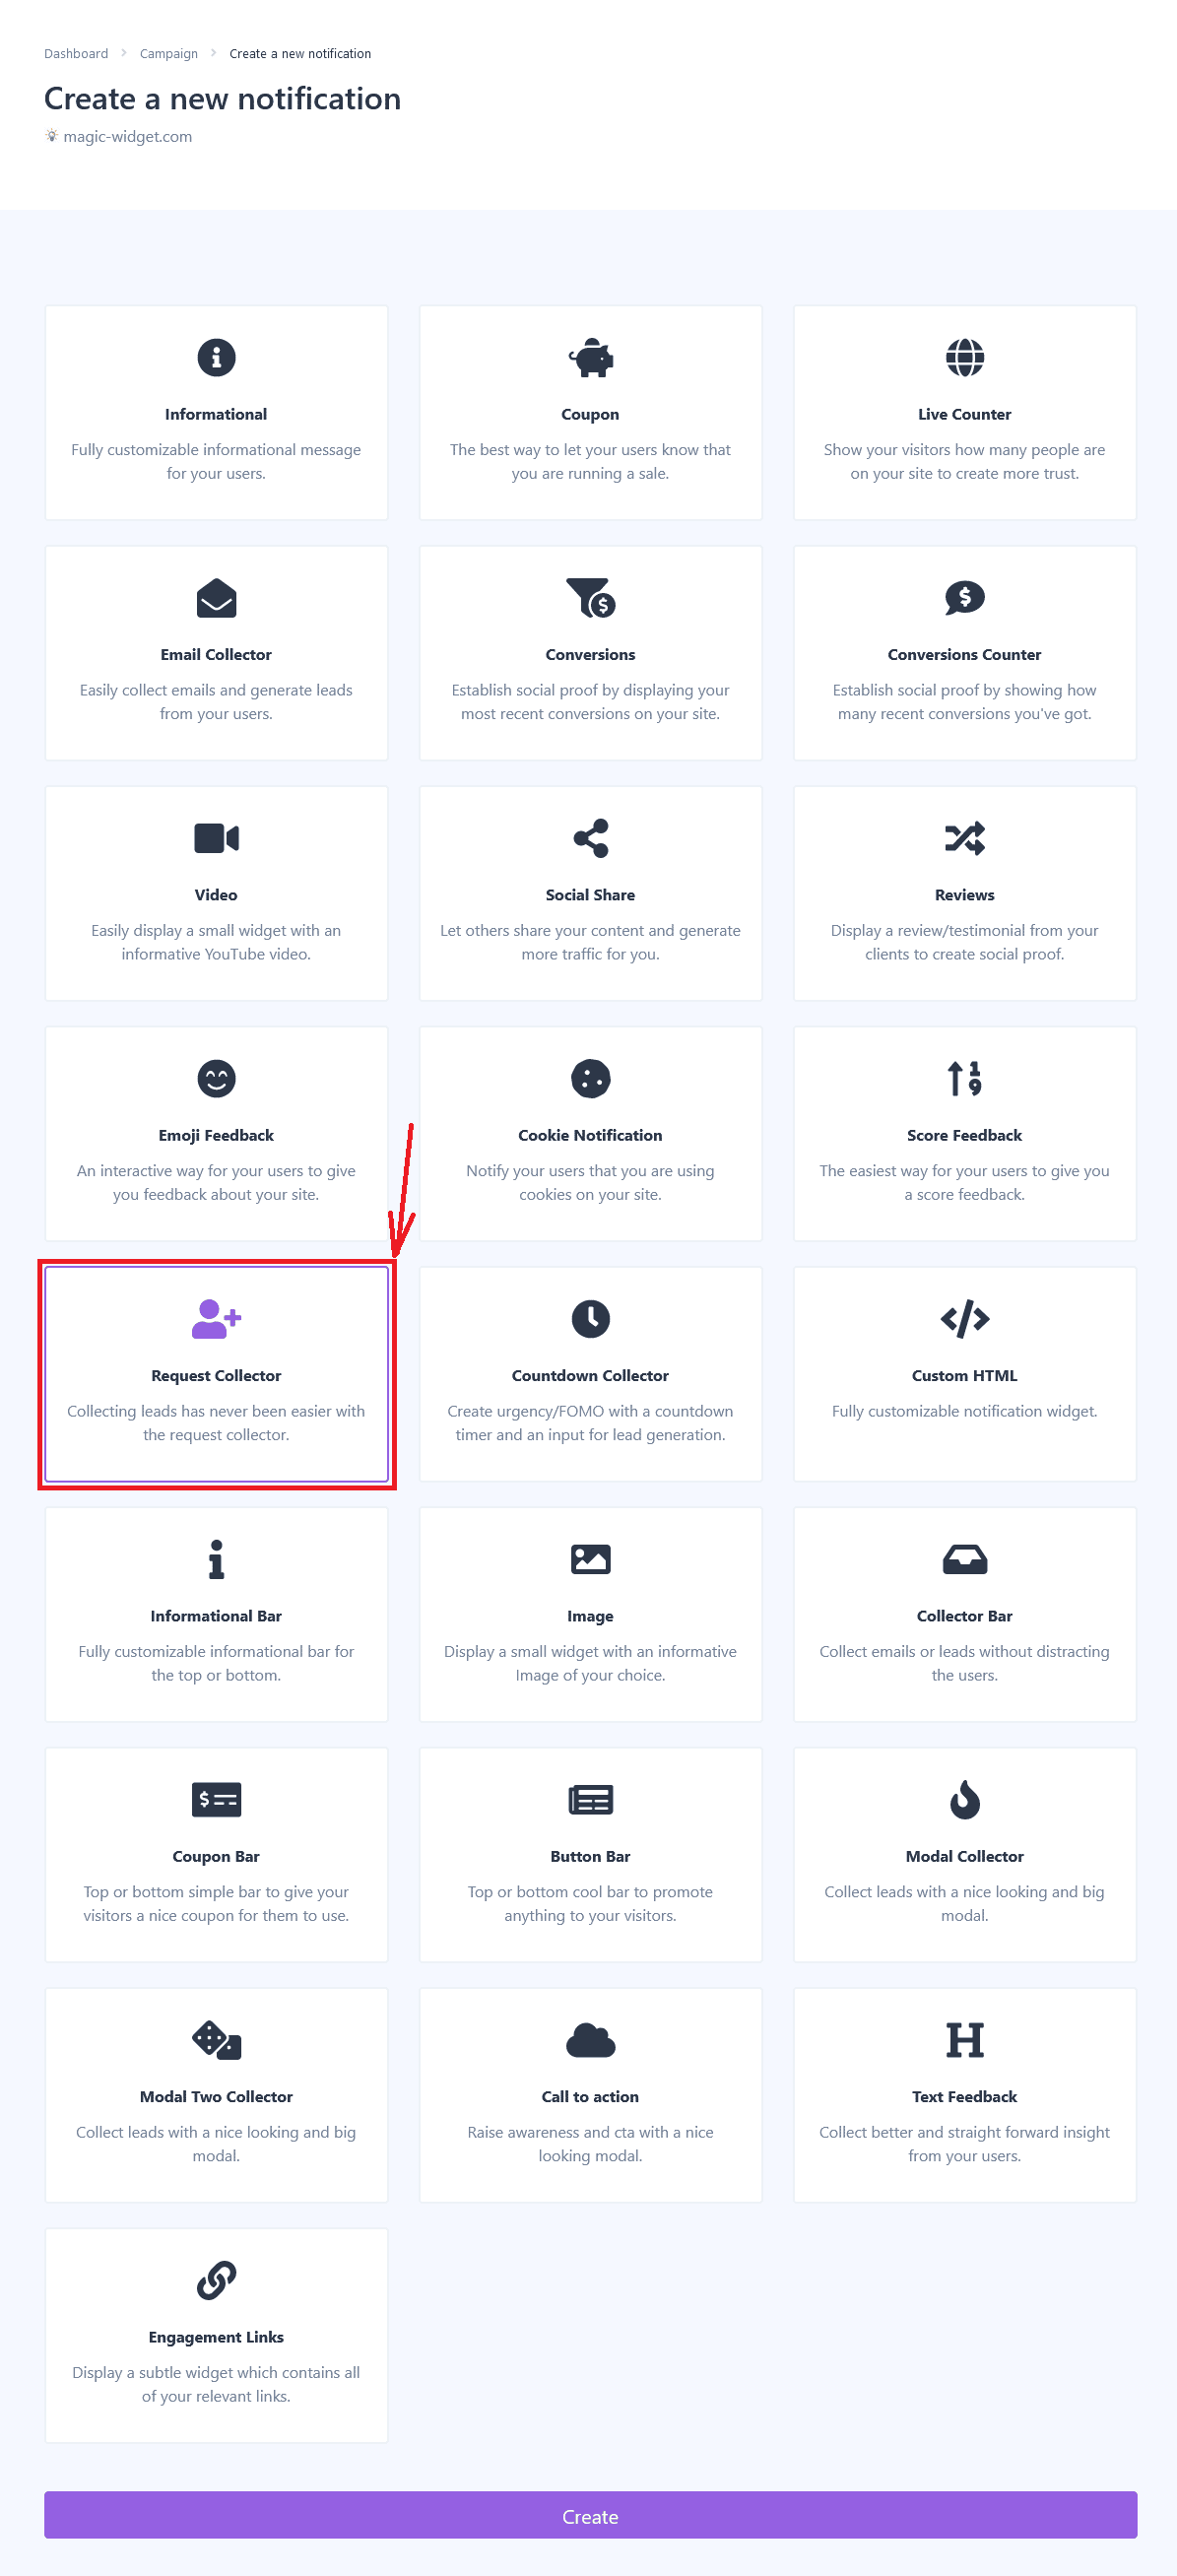
Select the Callback Type and Create the Notification

Below is the detailed instructions on creating a callback pop-up widget with Magic Widget tools, including all settings and design options.
Basic Settings

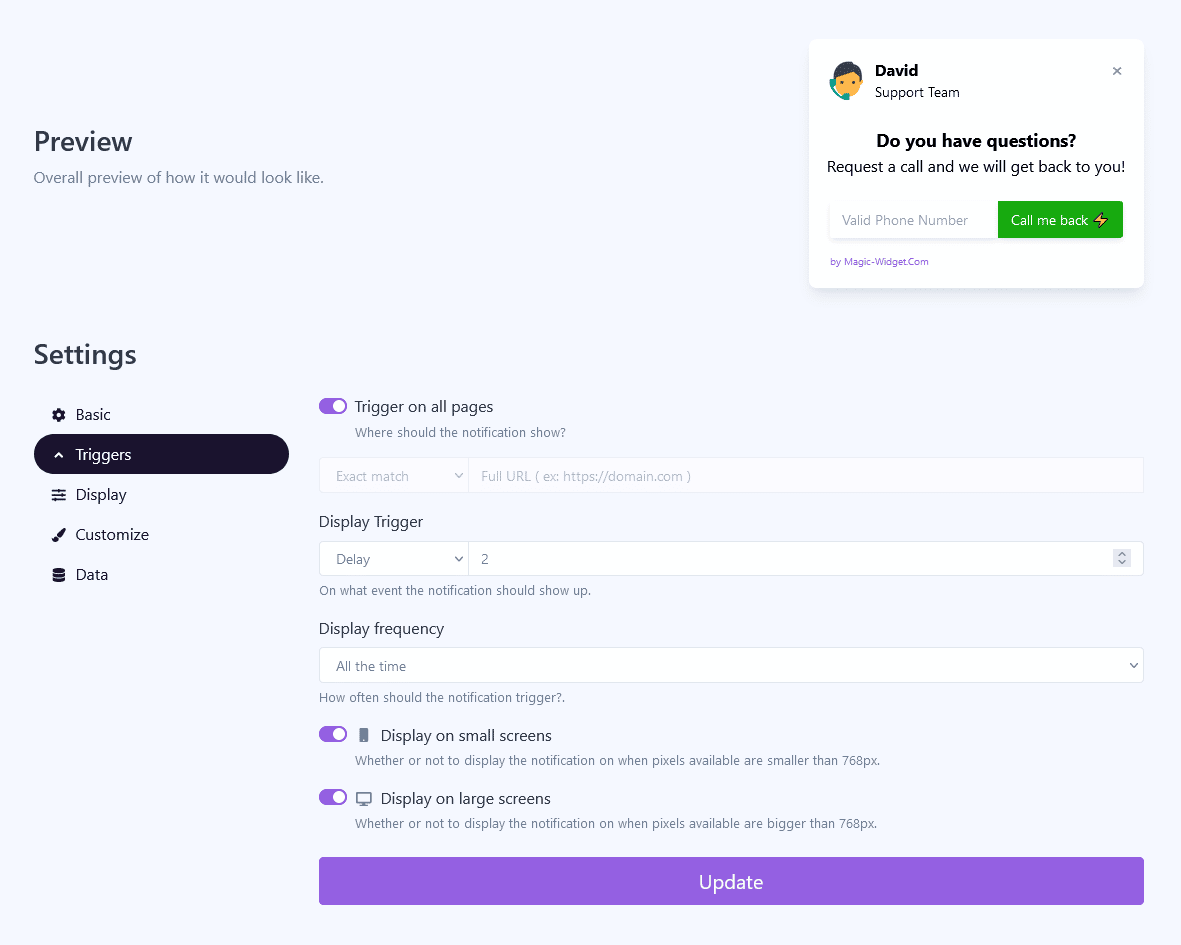
Triggers

Display Settings

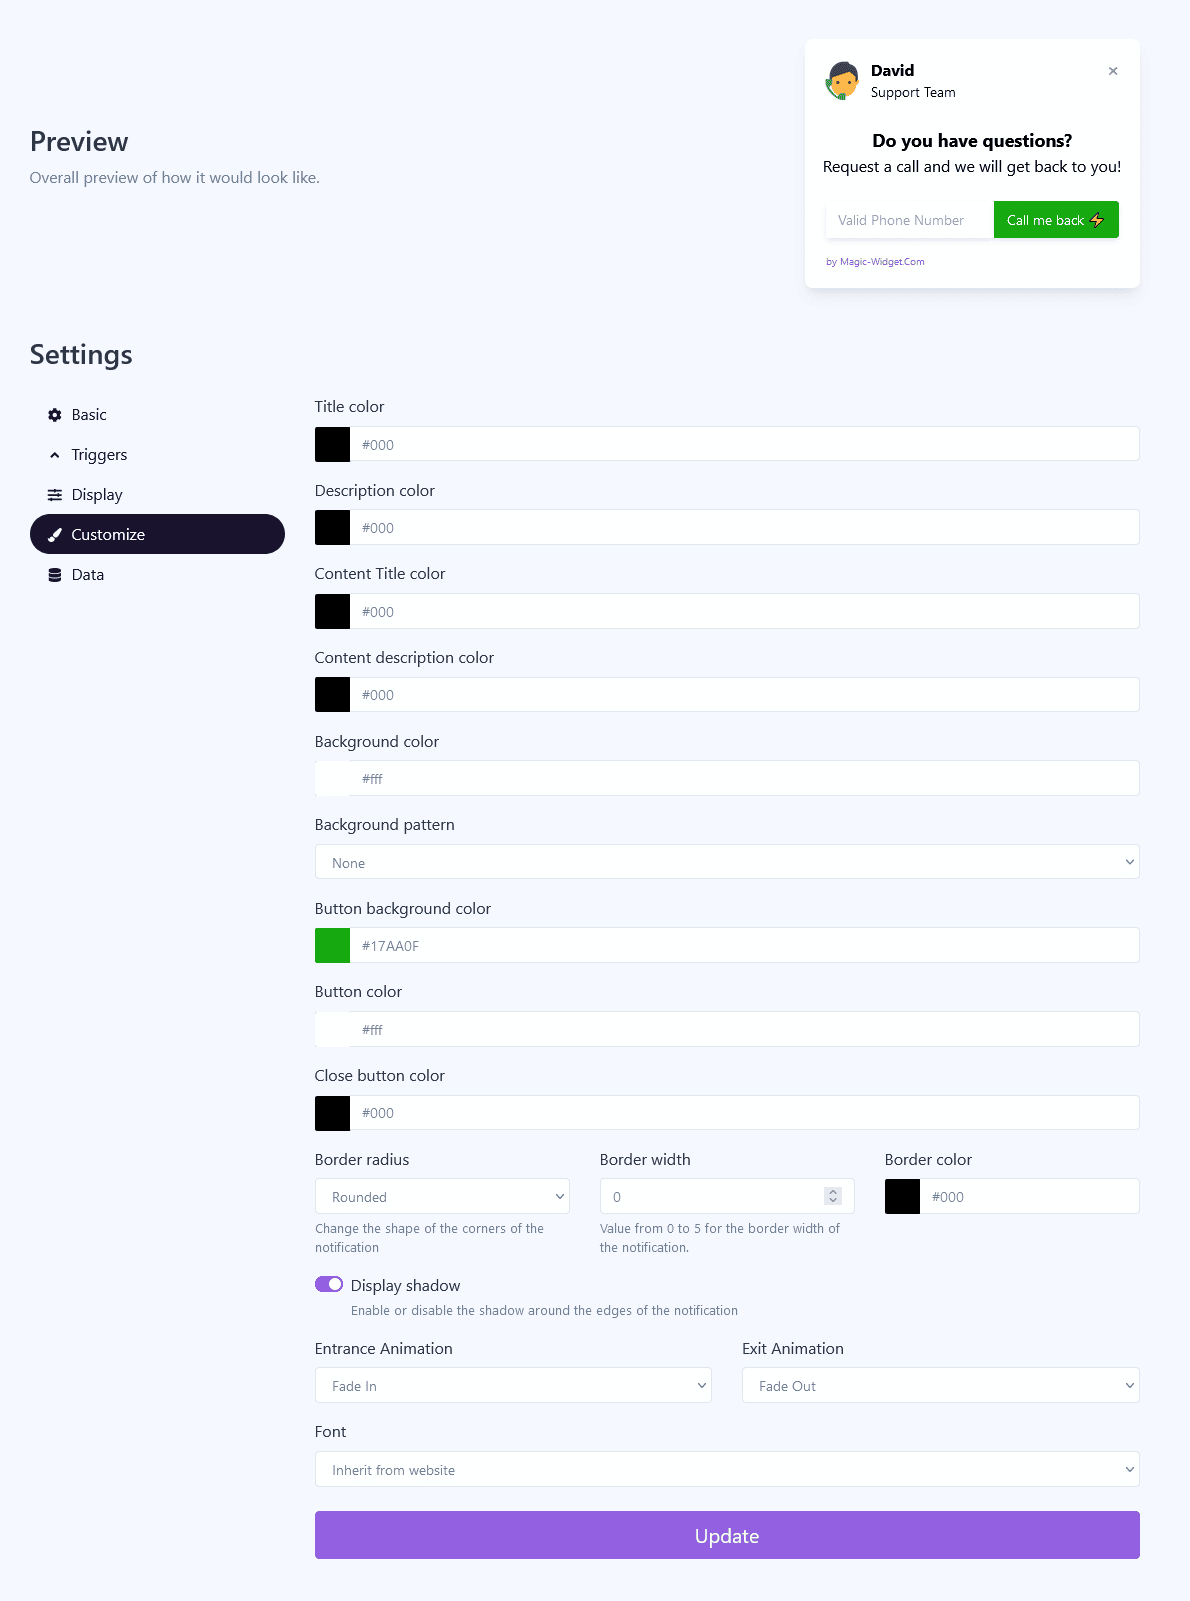
Design Settings

Data Settings

Use the Webhook to send the data to another notification. For example, you can copy the Webhook from Latest Conversions or Conversions Counter notification and paste it here.

You can import the data manually.
Activate the Notification

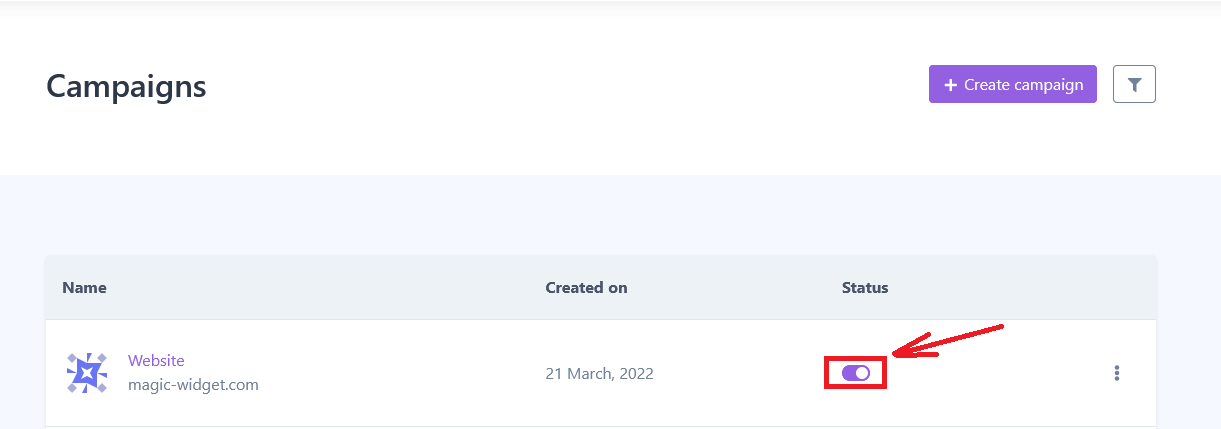
Activate the Campaign

